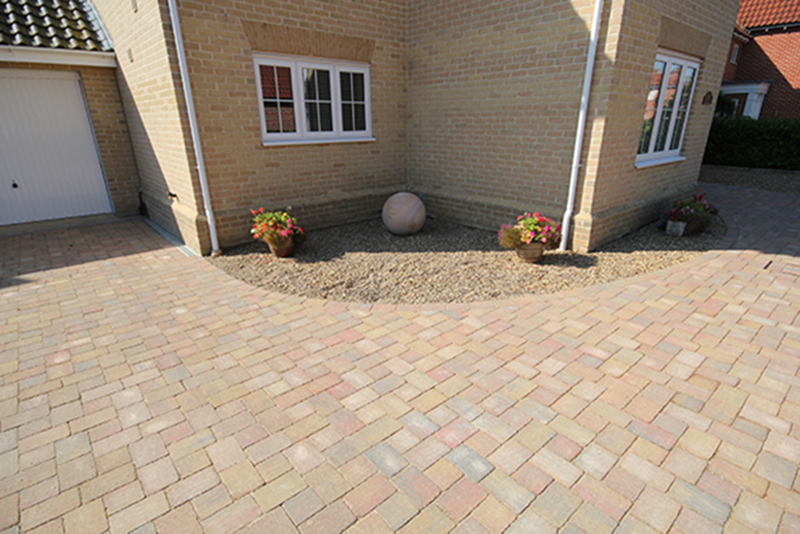
Creating The Perfect Paved Driveway
Posted on: 05/12/2014Deciding to get a new driveway can involve a lot of planning and decision making. You can feel overwhelmed and swamped with lots of information and different types of paving to choose from. With us, you can feel rest assured that we will help you one step at a time to achieve your perfect driveway.
Our technique of paving has been perfected over numerous years and we pride ourselves on creating beautiful paved driveways. Our process always delivers a strong and durable finish to all of our driveways which means we are able to offer our customers a 12 year guarantee.
Here is an insight into what we do:
1. Before the Building Process Begins
The first part of the process is to remove the existing driveway; this is done by using our own digger. We remove approximately 8-10 inches of soil and stone across the area where the new driveway will be. If you have any drain covers on your driveway, we leave these in place to begin with and then replace them later with a more fitting brick covering.
If you have a typical hot tar or stone driveway, you may notice that your drive collects a lot of dirt, leaves and weeds, making your front garden look untidy. The main decision is what type of pattern and brick you are looking for; from this we can then perform a detailed inspection on the exterior of your home and providing you with a fixed quotation. We then send this quotation to you, detailing the exact price to pay. If you have specific dates of the year you would like to book us in, please give us plenty of notice before hand, just so we can ensure you get the right time slot available.
2. Removing the Existing Driveway
3. The Concrete Base
Once the driveway has been completely cleared, we then add the concrete that creates the base for the paving. This is where around 10-11 cubic metres of concrete have been laid down to create a 4 inch thick layer. Our concrete is a chemically bonded mix which is fast drying and only uses around 5% of water, making it strong and resilient. When the concrete has been laid we use a motorised tool to make sure the surface is level.
4. The Brick Pattern
With your chosen brick, we would lay the pattern on a bedding course of sand. Although arranging the bricks does not take a huge amount of time, making sure the sand bed is completely flat and level is a crucial part of the process. This sand course is compacted using screed poles to create a flat finish and even driveway. These bricks are held in place by gravity and compaction and not concrete or adhesions. Once together it is virtually impossible to remove a single brick! If required we can apply a Sika setting sand, this fits in between the bricks which helps prevents weed growth.
5. The Other Intricate Details
We don’t stop at laying the paving; we also install drainage channels at the edges of the paving, ensuring that all liquid runs cleanly off the driveway. We also might encounter a situation where the bricks don’t fit exactly in line with the edge of the driveway; to resolve this issue we use a diamond disc cutter to cut the brick to the required size. As we mentioned earlier, we remove the old drain covers and replace them with a recessed drain cover that hides the existence of the drain.
6. The Final Steps
Depending on what space we have to work with, we can add a variety of final touches to your driveway including small bays which can be filled with gravel that sits on a geo-insulated sheet or high to low rumbled edging where the driveway meets your flower beds. To help maintain the surface of your driveway there are a few different chemical treatments that you can apply, giving your nice new driveway some extra protection from all kinds of leaks and spillages.
If you are looking to revamp your existing drive into a beautiful hard wearing driveway; then please feel free to contact us on 01603 360548 for more information.


